
Use a neoprene patch, either iron-on or peel-and-stick, when you need structural strength on a tear, gash, or blown seam. Save liquid neoprene cement for small punctures and leaks where flexibility matters most. For anything you rely on in the water regularly, layer both: tape for reinforcement, adhesive for a watertight seal.
TL;DR:
- Tape and patches are best for structural damage, such as seam splits and large gashes, which adhesives alone cannot bridge effectively.
- Liquid neoprene cement is ideal for small leaks and punctures where flexibility must be maintained without stiffening the material.
- Proper preparation, including cleaning and drying, is critical for a successful repair, with patches needing to be larger than the damage for durability.
- Peel-and-stick patches provide quick field repairs, while iron-on patches offer more permanent fixes when time and power are available.
- Combining tape and adhesive results in the most durable repairs, especially for high-stress zones, but severely damaged gear should be inspected by a professional or retired.
Table of Contents
- When Should You Repair Neoprene With Tape Instead of Glue?
- What Materials and Tools Do You Need for a Neoprene Patch Repair?
- How Do You Fix Neoprene Tears Step by Step?
- How Long Does a Neoprene Repair Take to Cure?
- Why Combine Tape and Adhesive for a Lasting Repair?
- What Should You Look for When Buying Neoprene Patches or Tape?
- When Should You Stop DIY and Call a Pro?
- Keep your gear ready with repair supplies
- Sources
- FAQ
When Should You Repair Neoprene With Tape Instead of Glue?
Tape and patches win when the damage is structural. A seam that has split open, a gash longer than an inch, or a spot getting rubbed raw from a wetsuit zipper all need something with body to hold the fibers together. Liquid adhesive alone won’t bridge a gap like that. It’ll pool, skin over, and crack the first time you stretch.
Liquid neoprene cement, on the other hand, is the better call for small punctures, fingernail nicks, and pinhole leaks. These spots don’t need reinforcement. They need a flexible seal that won’t stiffen the panel around your knee or shoulder.
- Use tape/patch for: seam splits, larger gashes, high-friction wear spots, field repairs with no glue on hand
- Use liquid adhesive for: pinhole leaks, fingernail tears, small punctures where stretch matters most
Peel-and-stick patches need zero tools and go on in the field. Iron-on patches need a heat source but bond more permanently, according to GEAR AID. If you’re patching a suit before a weekend trip and you’re nowhere near an outlet, peel-and-stick wins by default.
What Materials and Tools Do You Need for a Neoprene Patch Repair?
Before you touch the tear, get your kit together. You don’t want to be mid-repair, adhesive drying on your fingers, hunting for scissors.
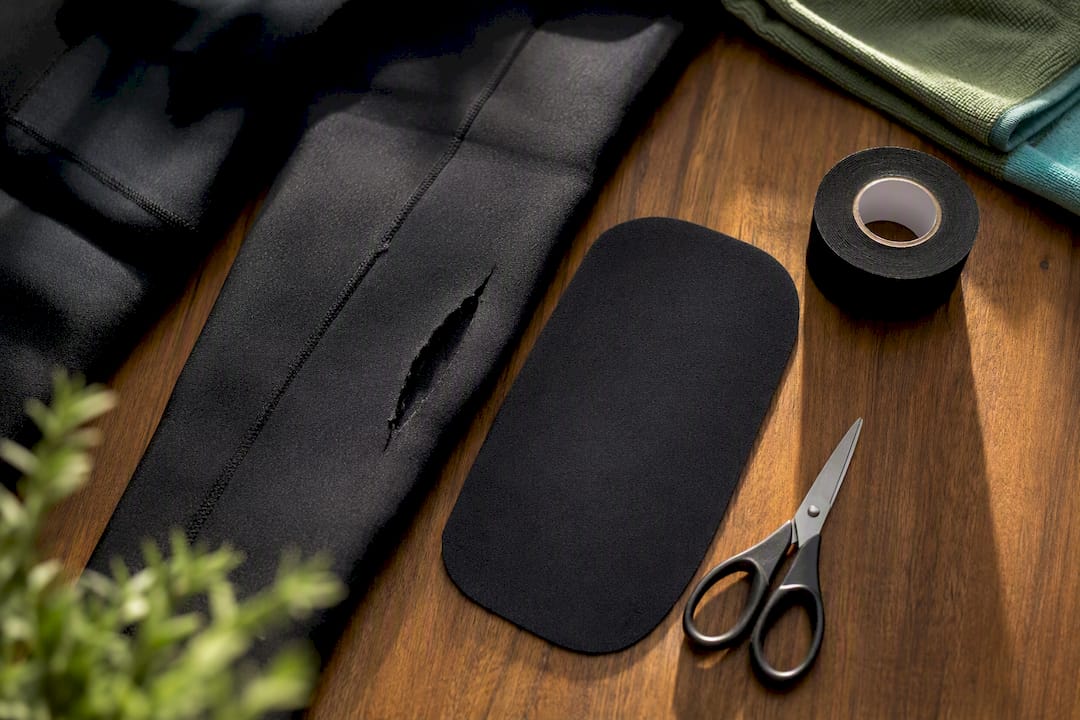
- Neoprene patch material (iron-on or peel-and-stick), sized to the damage plus a margin
- Liquid neoprene cement, like Aquaseal NEO, for sealing edges or small leaks
- Isopropyl alcohol and a lint-free cloth for cleaning the repair area
- Sharp scissors for rounding patch corners (sharp corners peel up faster)
- A small roller or the back of a spoon to press patches flat
- Disposable gloves, since contact cements are messy and don’t wash off skin easily
- A travel iron or heat source, only if using iron-on patches
Work in a ventilated space if you’re using contact cement. The fumes are strong enough to notice fast, and a cracked window or open garage door makes a real difference.
Pro Tip: Buy a patch slightly larger than you think you need. A patch with a wider margin holds better under repeated flexing than one cut flush to the tear’s edge.
How Do You Fix Neoprene Tears Step by Step?
Most botched neoprene repairs fail for one reason: skipped prep. Dirt, salt residue, or leftover moisture under a patch guarantees it peels within a few uses. Here’s the sequence that actually holds.
- Dry the neoprene completely. Even a slightly damp suit will trap moisture under the patch and weaken the bond.
- Clean the repair area with isopropyl alcohol. Wipe well beyond the tear itself. Oils from your hands or sunscreen residue block adhesion.
- Lightly abrade the surface if the manufacturer recommends it. Some patch products bond better to a slightly roughed-up surface; check the packaging first.
- Cut your patch to size with rounded corners, then dry-fit it over the damage before committing to adhesive or heat.
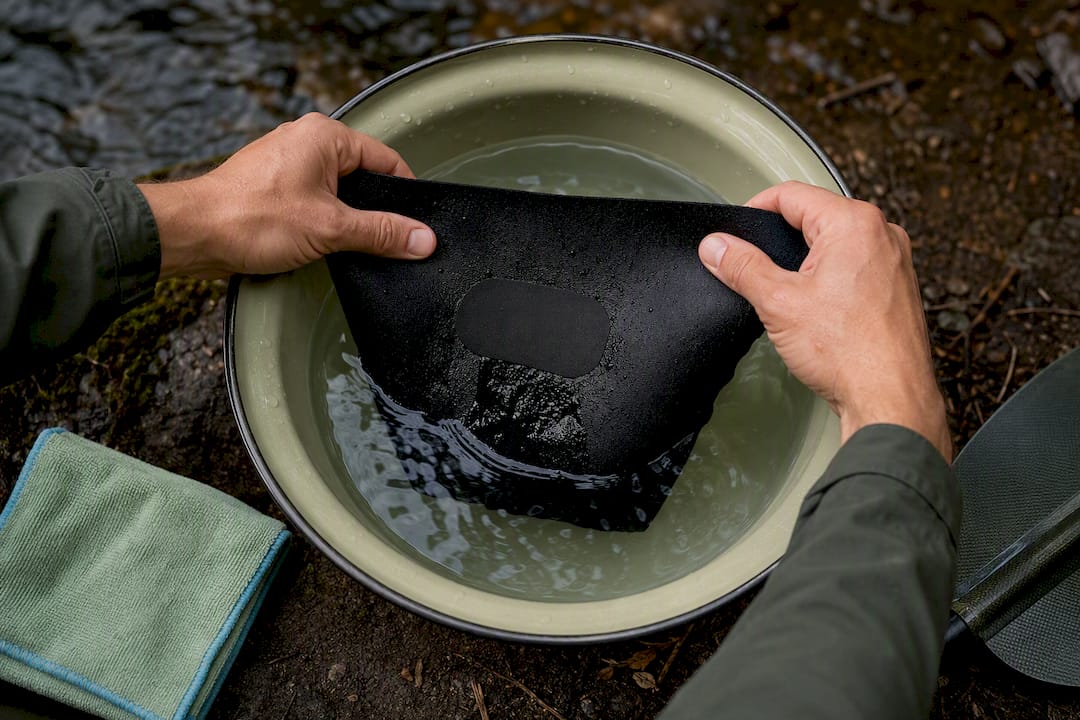
- Apply the patch. For peel-and-stick, press from the center outward and roll firmly to remove air pockets. For iron-on, use low heat in short bursts, protecting the outer surface with a thin cloth so you don’t scorch laminated coatings.
- Reinforce seams from the inside. Run seam tape along the interior of a split seam before adding an external patch, especially on high-stress panels like knees or underarms.
- Seal the patch edges with a thin bead of liquid neoprene cement if you want a fully waterproof finish. A thin, tacky layer bonds far better than a thick glob, according to Wetsuit Wearhouse.
- Let it cure fully before testing. Rushing this step is the single most common way a good repair fails early.
Iron-on patches typically need about 10 seconds of low heat to bond, while peel-and-stick versions need no tools at all, per GEAR AID’s guidance. That speed is exactly why peel-and-stick options dominate field kits.
Once it’s cured, do a gentle stretch test across the patch, then a short water soak before trusting it on a real paddle or dive.
How Long Does a Neoprene Repair Take to Cure?
Cure time depends entirely on which method you used. Peel-and-stick patches bond immediately on contact, though giving them a few hours undisturbed helps the adhesive settle fully. Iron-on patches also bond right away but benefit from cooling flat before you flex the panel.
Liquid neoprene cements are the slow ones. Aquaseal NEO sets in as little as 20 to 30 minutes but the maker recommends following the full product instructions for complete cure, which can extend to 20 to 24 hours depending on humidity and thickness.
- Visual check first: no lifted edges or air bubbles
- Gentle stretch test across the repair
- Short water soak before committing to a full session
Keep in mind that tape does slightly reduce a panel’s natural stretch. That’s a fair trade at the knees or seat of a wetsuit, but it’s worth reinforcing high-motion zones like underarms and shoulders rather than relying on tape alone.
Why Combine Tape and Adhesive for a Lasting Repair?
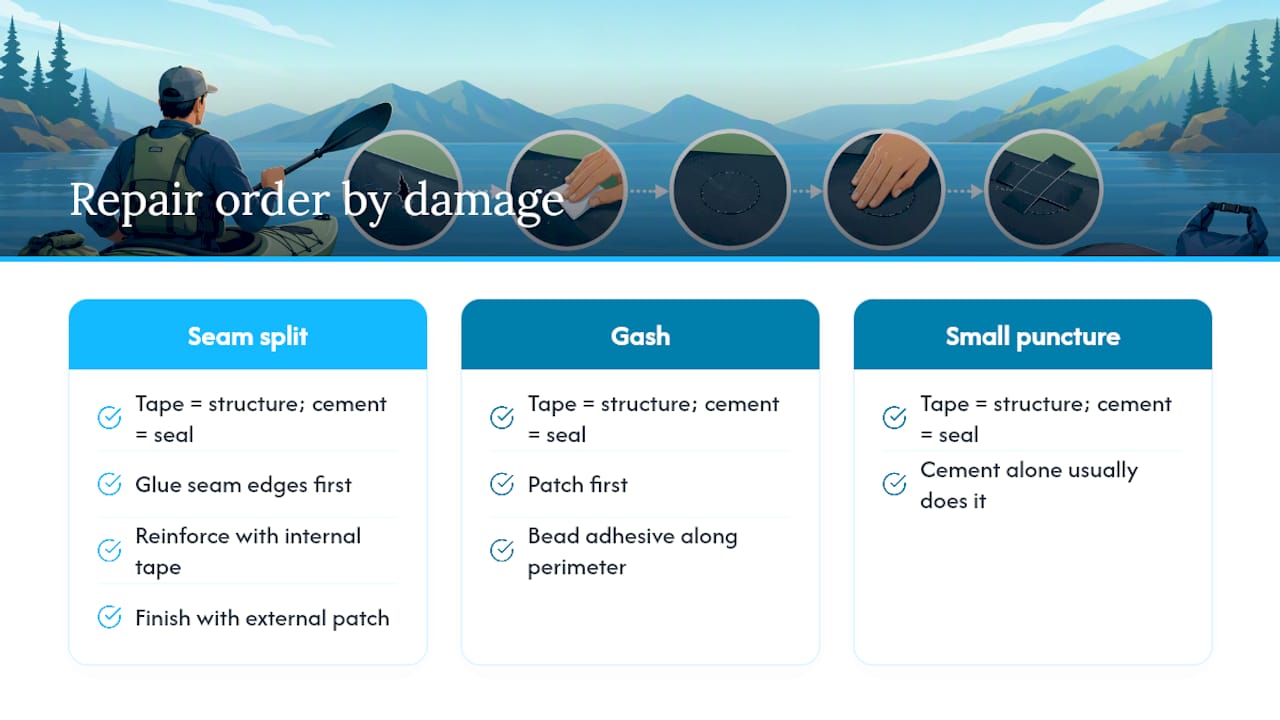
Tape gives structure. Liquid cement gives a watertight seal. Neither does the other job well, which is why combining them is standard practice for anyone who repairs neoprene often, not just once. For a seam split, glue the seam edges first, then reinforce with internal tape and finish with an external patch. For a gash, patch first, then bead adhesive along the perimeter. For a small puncture, cement alone usually does it.
Pro Tip: Press patches with firm, even pressure while the adhesive is still tacky. Uneven pressure creates weak spots that fail first, usually right at the corner you rushed.
What Should You Look for When Buying Neoprene Patches or Tape?
Not all repair tape is built the same, and the wrong pick means redoing the job in a month. Prioritize these features before you buy:
- Application type that matches your situation: peel-and-stick for speed, iron-on for permanence
- Post-cure flexibility, since a stiff patch on a knee panel will crack faster than it seals
- Multiple size options, so you’re not stretching a small patch over a large tear
- Washability, especially if the gear sees regular saltwater or chlorine exposure
Peel-and-stick makes sense when you’re repairing on a beach or riverbank with no outlet nearby. Iron-on is the better long-term fix when you have access to power and a few extra minutes. Liquid adhesive covers the gaps neither tape format handles well, particularly on flexible zones where stiffness would be a problem.
Joypaddling stocks repair tape alongside gear built for life on the water, including the waterproof phone bag and durable water shoes that hold up to the same abuse your suit does.
When Should You Stop DIY and Call a Pro?
Tape and cement handle most tears, seam splits, and leaks a paddler runs into. But once damage spreads across multiple panels, hits a zipper track, or keeps reopening after a proper repair, that’s your signal to see a professional or retire the gear. A patch job that fails twice in the same spot usually means the surrounding neoprene has broken down beyond what tape can fix.
— Fillip
Keep your gear ready with repair supplies
Once your wetsuit or gear bag is patched and dry, the rest of your kit deserves the same attention. Certain brands carry repair tape built for neoprene alongside apparel designed to handle wear and tear paddlers put their gear through every season.

If you’re stocking up before a season on the water, check out the J&P Windbreaker Jacket for wind protection between sessions, the J&P Backprint T-shirt for everyday paddling comfort, and the J&P Quarter-Zip Pullover for cooler mornings on the launch. Browse the full accessories collection for repair tape and other gear that keeps your kit ready for the next trip, or check out the t-shirt prints lineup while you’re stocking up.
FAQ
How Do You Fix a Ripped Wetsuit or Neoprene Item?
Clean and dry the tear, then apply a patch sized to cover it with a margin, using either iron-on heat or peel-and-stick pressure depending on your patch type. Seal the edges with liquid neoprene cement if you want a fully waterproof finish, then let it cure before testing.
What Is the Best Adhesive for Repairing Neoprene?
Neoprene-specific contact cements like Aquaseal NEO are formulated to bond and cure to a flexible rubber finish, which regular super glue or all-purpose adhesive won’t do. Always apply it thin, since a thick layer creates a mess rather than a stronger bond.
Is E6000 Good for Neoprene?
Certain general-purpose adhesives can bond to neoprene in a pinch, but they aren’t formulated specifically for it and tend to cure stiffer than dedicated neoprene cements. For anything you plan to wear and flex regularly, a neoprene-specific adhesive holds up better over time.
What Is the Best Adhesive for Repairing Wetsuits?
The strongest results come from combining a neoprene-formulated cement for sealing with tape or a patch for structure, especially on seams and high-stress panels. Joypaddling’s repair tape works well for the structural side of that combination.